Revisiting Film
shooting manual, develop, scan & print at home
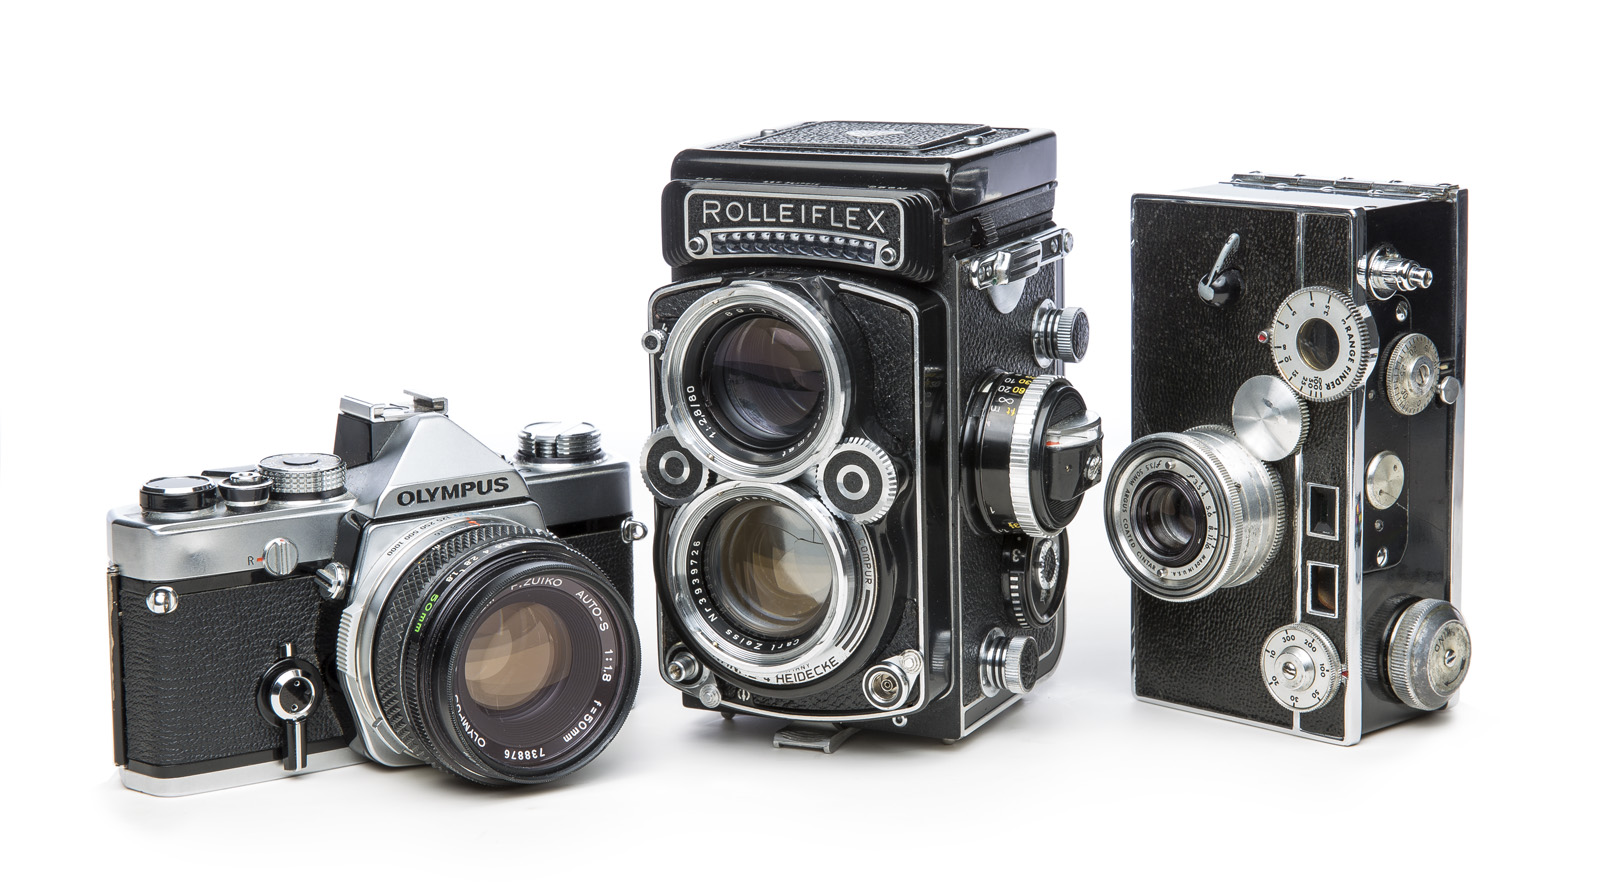
Happenstance… A few years ago, my father passed away leaving a variety of personal effects as part of my inheritance. Two of those things were cameras; a 1940’s Argus C3 or “brick.” A brief bit of history according to Wikipedia: The Argus C3 was a low-priced rangefinder camera mass-produced from 1939 to 1966 by Argus in Ann Arbor, Michigan, United States. The camera sold about 2 million units, making it one of the most popular cameras in history. And the other, an early 70’s Olympus OM-1 equally popular and revolutionary for it’s time. Of all my working camera’s (six), the Olympus is the most joyous to shoot–including digital. It has an enormous viewfinder that makes “seeing” and composing the subject uniquely engaging.

As a small tribute to him I ran a roll of 35mm black-n-white film through the “brick” while my siblings and I cleared-out our childhood home. It’s incredibly difficult to shoot due to its form factor, age and stiff control dials–the last images taken were some color slides 50+ years ago! Nonetheless, the images surprised me with their quality, well above my expectations. But man, it’s a fight for every frame you shoot.
Coincidentally… My ongoing fascination with several “old school” photographers coupled with revisiting my fathers film cameras infected me with the desire to find a Rolleiflex TLR– Irving Penn’s camera of choice.
A True Classic… the Rolleiflex 2.8f with Carl Zeiss Planar lens represents the pinnacle of the Rolleiflex TLR form factor. Built in 1960, this mechanical marvel is from another planet altogether. To start, it’s medium format (the negative measures 6cm x 6cm v. 35mm x 24mm) and the chimney viewfinder is held at waist-level, you look down through it to compose and focus. All controls are ergonomically placed and move with silky-smooth, watch-like precision. The images are unique to Rolleiflex and are exactly what attracted me to Irving Penn’s work.
the process truly represents “old school.” all manual image capture, develop negatives in the bathroom, scan, post process, and print the winners.
–ALI ALGHOUL

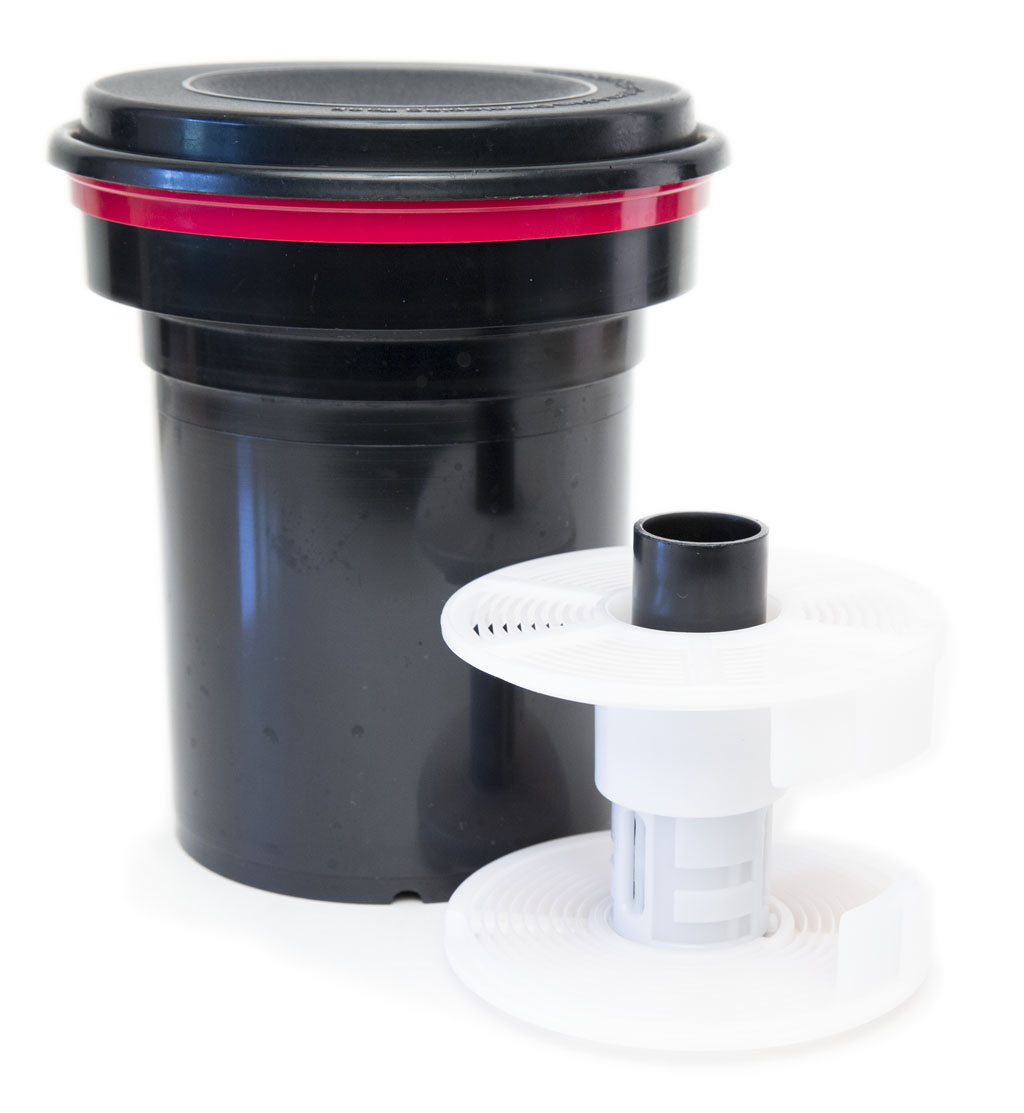
Exposed film, now what?… develop the film myself at home–that’s what. I did some quick learnin’, bought the necessary items and have been developing my own black-n-white since. The process is simple and well-defined requiring you take your time and enjoy (or not) and your rewarded with a properly developed negative. Overall there are 4-steps in film or analog shooting; capture, develop, scan/download, post process. Whereas with digital, it’s capture, download and post process. It’s very exciting to look at the negative through a loupe (that little eyeglass looking device) for exposure and focus. What’s better still is seeing the image on your workstation screen as you scan in the film.
The reward… for me it’s the idea that I’m empowered with all the tools to control the entire process. The few gems are hard to come by, but well worth all the frames to get there.


